Die Casting Steps -The Complete Process From Metal to Part
Step-by-step breakdown of the die casting process: die preparation, metal injection, solidification, ejection, trimming, and secondary operations. With process parameters for aluminum and zinc.
Supporting Visuals
Production images for this page
These images are pulled from your current KastMfg asset library. Page-specific files automatically override shared fallback visuals when you add them later.
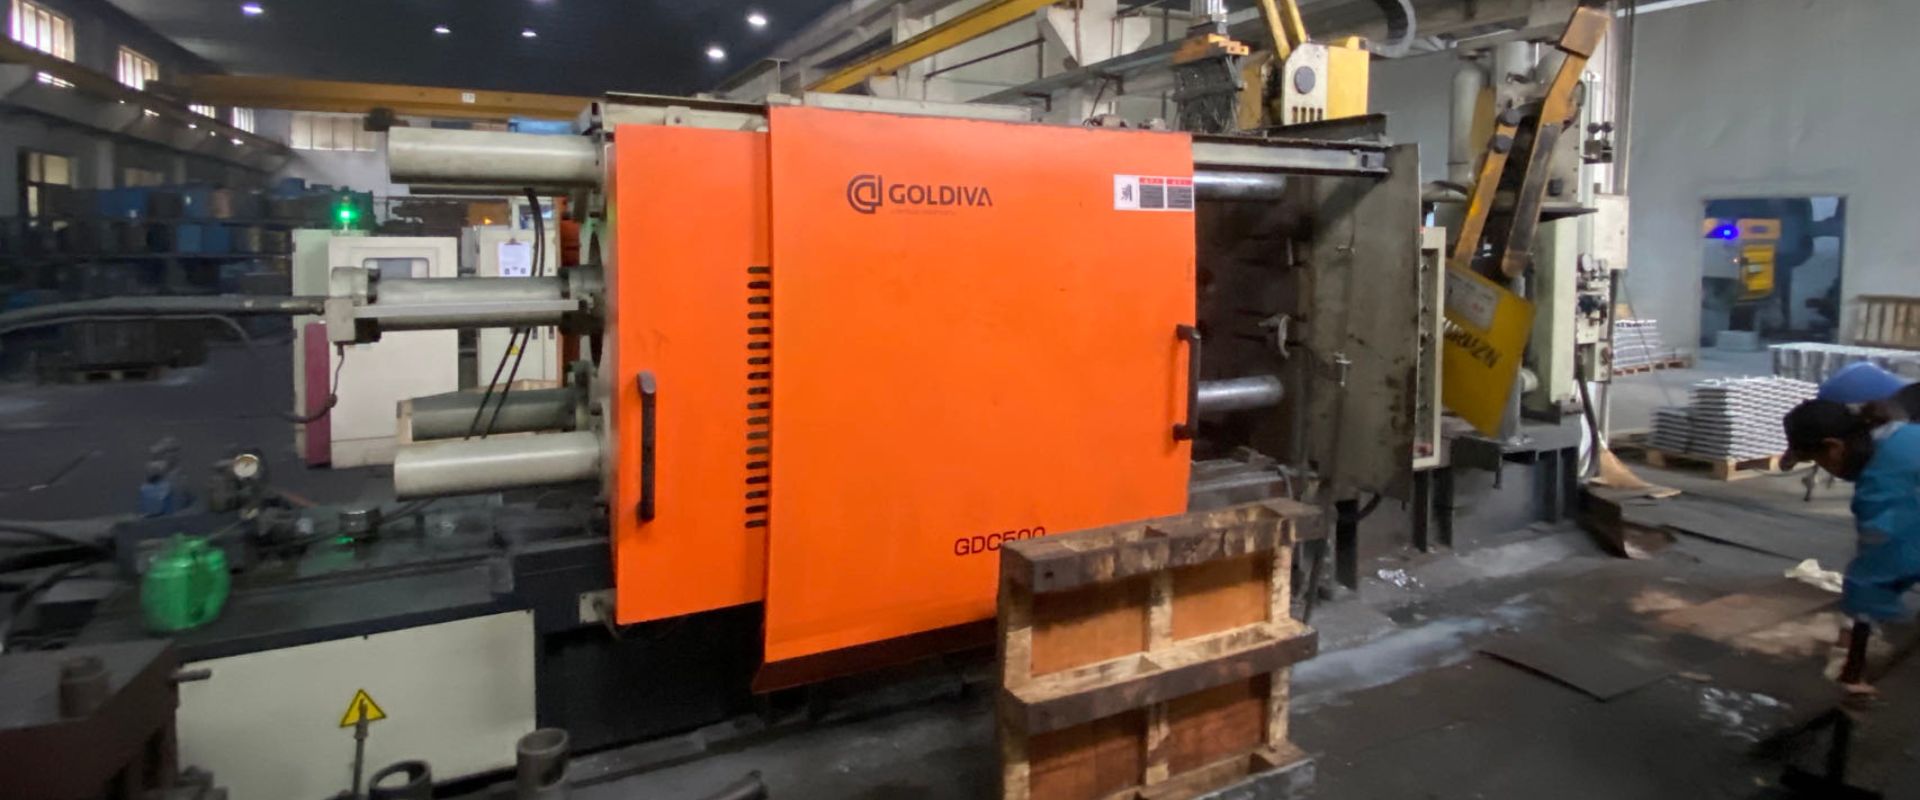
Factory or Process Image
Reserve space for a production, tooling, or inspection photo that visually supports the main topic.
Best as a wide industrial image
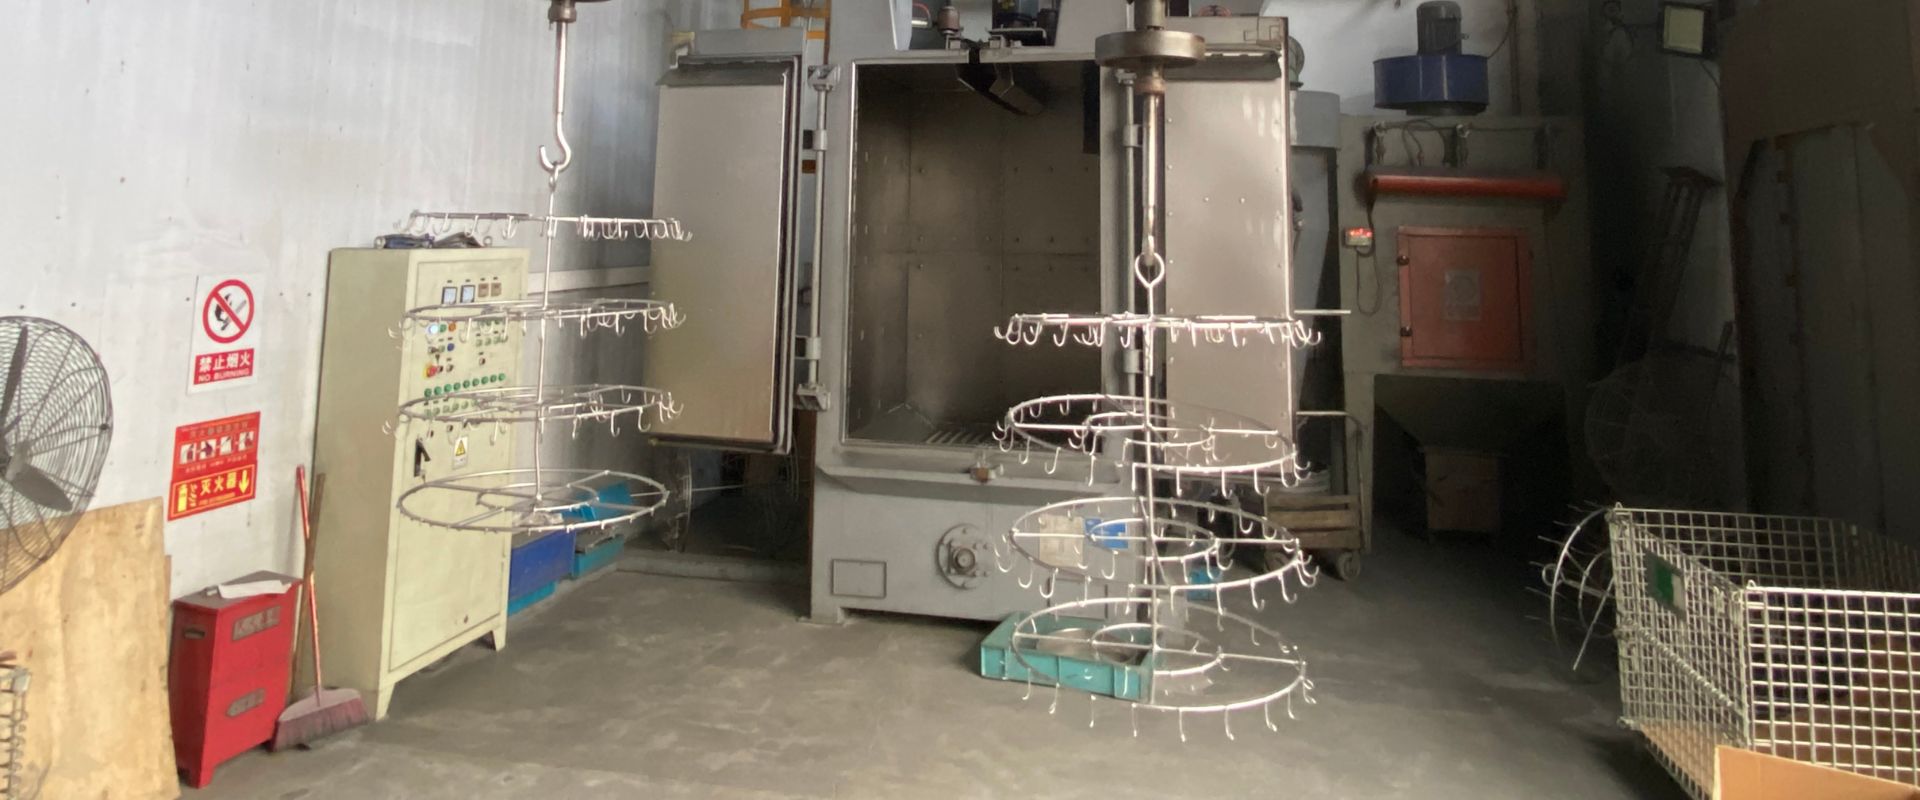
Component Detail Image
Use a close-up of a casting, surface finish, machined feature, or application component to add visual proof.
Best as a detail or macro shot
Die Casting Steps -From Molten Metal to Finished Part
Die casting is a cyclic process. Every cycle produces one part (or multiple parts in a multi-cavity die) and repeats identically across millions of production shots. Understanding each step helps engineers design better parts, buyers ask better questions, and quality teams identify where problems originate.
The 6 Core Die Casting Steps
Step 1 -Die Preparation
Before each shot, the die must be at the correct temperature and coated with release agent.
What happens:
- Both die halves close under hydraulic clamping force equal to or greater than the injection pressure force
- The die surface is sprayed with a water-based or oil-based release agent (die lubricant) using automated spray nozzles
- The release agent serves two purposes: it prevents molten metal from bonding to the steel die face, and it provides a thin thermal barrier to manage die temperature
Process parameters:
- Die temperature: 180-260°C (aluminum), 150-220°C (zinc)
- Clamping force: must exceed injection force -typically 1.1-1.3x safety factor
- Spray time: 2- seconds depending on die size and complexity
What goes wrong here: If die temperature is too low, metal solidifies prematurely (cold shut). If too high, the die lubricant burns, the metal sticks (soldering), and die surface erodes.
Step 2 -Metal Injection
Molten alloy is forced into the die cavity at high velocity.
What happens (cold chamber -aluminum/magnesium):
- A ladle (manual or automated) pours a measured volume of molten alloy into the shot sleeve
- A hydraulic plunger advances in two phases: slow shot (fills the sleeve, purges air) then fast shot (injects metal into die at 20-30 m/s gate velocity)
- The entire cavity fills in 10-100 milliseconds
What happens (hot chamber -zinc):
- The gooseneck submerged in the melt automatically fills with the correct shot volume
- The plunger fires, injecting zinc at 30-40 m/s
Process parameters:
- Metal temperature: 620-700°C (aluminum), 400-430°C (zinc)
- Injection velocity: 20-30 m/s at gate (aluminum cold chamber)
- Injection pressure: 35-75 MPa (aluminum), 7-15 MPa (zinc)
What goes wrong here: Too fast = turbulence, air entrapment, gas porosity. Too slow = metal freezes before cavity fills (cold shut, misrun).
Step 3 -Intensification (Pressure Hold)
After the cavity is full, a secondary pressure spike is applied.
What happens:
- As the cavity fills, the plunger continues to apply force through intensification -a hydraulic pressure multiplier that increases pressure to 70-75 MPa
- This intensification pressure compresses the semi-solid metal, closes microshrinkage voids, and forces metal into fine features while still fluid
- Duration: 0.5- seconds
Why it matters: Without intensification, shrinkage porosity forms in thick sections as the metal contracts during solidification. Intensification is the primary mechanism that distinguishes HPDC quality from gravity casting.
Step 4 -Solidification
The part cools and solidifies inside the closed die.
What happens:
- Heat transfers from the casting into the die steel and out through water-cooling channels
- Solidification time depends on wall thickness, alloy, and die temperature
- The part must reach sufficient strength before ejection -typically when surface temperature drops below 400-450°C (aluminum)
Process parameters:
- Cooling time: 2-10 seconds (aluminum, depending on wall thickness)
- Die cooling water: 20-30°C inlet, controlled flow rate
- Solidification rate affects grain size and mechanical properties
What goes wrong here: Insufficient cooling time = hot tearing on ejection, dimensional distortion. Non-uniform cooling = warpage, residual stress.
Step 5 -Die Opening and Ejection
The solidified part is removed from the die.
What happens:
- The clamping cylinder releases and the ejector half of the die moves away from the cover half
- Ejector pins (hardened steel rods in the ejector plate) push the part out of the cavity
- The part drops onto a conveyor or into a collection bin
- The die halves remain open briefly while the robot or operator removes the part and the spray cycle begins
Design requirement: All part surfaces parallel to the die-opening direction must have draft angles (1-° for aluminum) to allow ejection without galling.
What goes wrong here: Insufficient draft = part sticks, ejector pins mark or distort the part. Premature ejection = hot tearing.
Step 6 -Trimming and Degating
Gates, runners, and overflow wells are removed.
What happens:
- Every die casting has metal attached at the gate (where metal entered the cavity), the runner (channel from shot sleeve to gate), and overflow wells (deliberate reservoirs that trap cold metal and air)
- These are removed by a trimming die press (for high volume), CNC machining, or manual breaking and grinding
- Trim flash (thin metal film at the parting line) is removed by shot blasting, tumbling, or manual finishing
Cycle time so far: 15-25 seconds for zinc, 30-120 seconds for aluminum.
Secondary Processing Steps (After Casting)
Inspection
Every batch undergoes dimensional inspection. First articles are measured on the CMM. Production samples are checked with gauges or vision systems.
Heat Treatment (Optional)
Aluminum castings can be T5 (artificially aged) or T6 (solution heat treated + artificially aged) to improve mechanical properties. T6 requires near-zero porosity -standard for vacuum die cast parts only.
CNC Machining
Critical mating surfaces, bores, and threaded holes are machined to final tolerance.
Surface Finishing
Shot blasting, powder coating, anodizing, or other finishes as specified.
Assembly
Inserts, bearings, fasteners, and sub-components are assembled.
Complete Process Timeline (From Order to Delivery)
| Stage | Typical Duration |
|---|---|
| DFM review and quote | 2 business days |
| Tooling fabrication | 3- weeks |
| First article sampling | 1- weeks |
| Production run | 2- weeks |
| Surface finishing | 1- weeks |
| Shipping (ocean) | 25-35 days |
KastMfg Manufacturing Co., Ltd. Email: yaoqingpu1983@gmail.com | Phone: +86 138 1403 4409 No.6, Rungu Road, Nanjing, China
Related Resources
Continue the research path
Hot Chamber Die Casting -Process, Parameters & Zinc Alloys | KastMfg
Hot chamber die casting explained: why zinc uses submerged injection, the 6-step process, key parameters, machine selection, cycle time economics, and comparison with cold chamber aluminum.
ToolingDie Casting Tooling
Connect process decisions back to gate design, thermal balance, and die maintenance planning.
CapabilityQuality Control
Review inspection workflow, traceability support, and process control standards before launch.
Process GuideDie Casting Process
See how casting, trimming, machining, finishing, and inspection fit together in production.
Need a Quote for Your Project?
Our engineering team is ready to review your requirements and provide competitive pricing with fast turnaround.
Request a Quote